
STM Senior Designer Barb Prendergast found that with a little planning and careful cutting, she could use BOTH sides of one sheet of patterned paper for her lovely Bonne Fete card, which appears on today's Scrap That Moment Facebook Page.
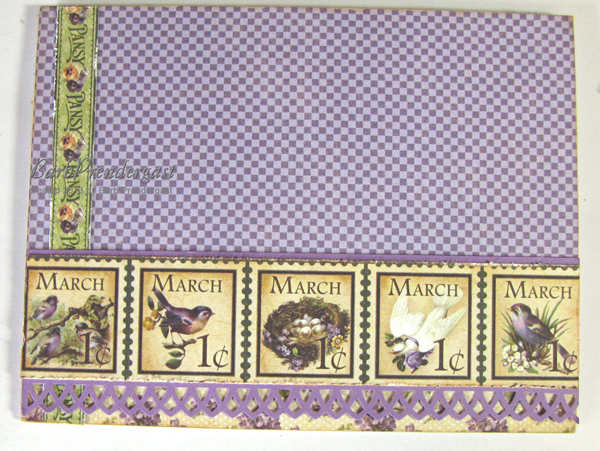
She started with the March Place In Time Cut-Apart:

First, she carefully chose the motifs she wanted to use for her card. She used the post card; the square with the birds and nest; the postage stamps; the green pansy strip; and a part of the Bonne Fete border. She cut out ONLY those pieces, then saved the rest of the sheet.
Next, she turned over the paper and cut two strips -- one of the beige and lavender floral, and a wider one of the lavender check. She inked the edges with Tim Holtz Distress Ink by Ranger Industries, then adhered to a 5 x 6 1/2 inch white cardstock card base:

Then she went to work on the rest of the elements. She used the Tim Holtz by Tonic Edge Distresser on the edges of her smaller pieces, then inked with distress ink. (Note: the little sponge finger daubers sold at STM are perfect for getting a soft aged effect!)


Next, she used her Martha Stewart by EK Success border punch on the edge of the Groovy Grape cardstock, then adhered the postage stamp strip. She used the Groovy Grape to back the bird motif also. She cut a Bonne Fete from the purple strip and backed it with green Kaisercraft cardstock; she also adhered the postcard to green cardstock.
To put the card together, Barb first adhered the pansy trip vertically down the side of the card. She adhered the postage stamp strip horizontally to the card, over the pansy strip:
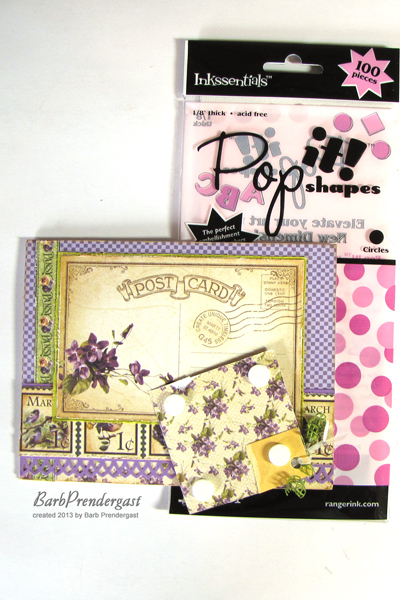
Next, she adhered the post card image to the front of the card, overlapping both the pansy and postage stamp strips.

She punched a hole with a 1/8 inch hole punch (the kind you use for school projects or in an office), and tied ribbon through the hole. She used Ranger Industries' Pop It! foam circles on the back of the bird motif to attach it to the post card. Barb loves adding some dimension to her projects, and the Pop It shapes are so easy to use!
Last, she attached the Bonne Fete strip. Now for the fun part -- decorating! Barb used her punch to punch a small circle, then attached with a piece of a Pop It foam circle and covered with Glossy Accents to make a quick "button". She used Liquid Pearls and Stickles to accent parts of the patterned paper designs. And here is her finished card:

No comments:
Post a Comment